How to Create Your First Event on Eventeny
Creating a New Event
- Log in to Eventeny with your email and password.
- Click “My Events” in the navigation bar to be directed to your event dashboard.
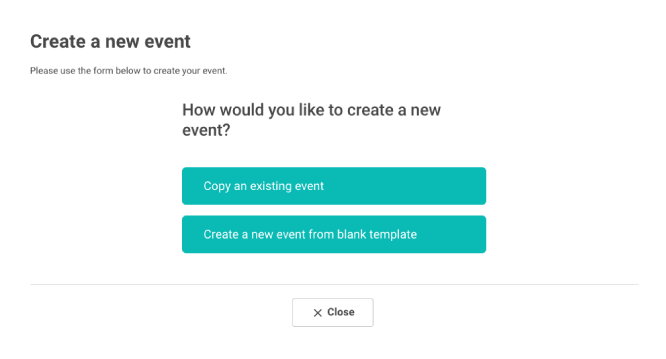
- In the upper right-hand corner, click the button, “Create a New Event.”
- Select “Create a new event from blank template” if this is your first event.

Filling Out Your General Information
A pop-up will be presented, please respond to the following to get started:
- Event name
- Event type/category.
- Event status
- Event description
- When done, click “Save & continue.”
Identifying Your Location & Date
In this section, you will need to supply information about when and where your event will be happening. You will be asked to include:
- Location (In-person/hybrid OR virtual).
- Event address (in-person/hybrid only).
- Event start & end times.
- Timezone.
- Currency.
Uploading Your Cover Photo
Please use a high-quality cover picture so that it can be displayed on multiple platforms. Low-quality pictures cannot be resized effectively and will result in cropped or pixelated pictures. Recommended size: 2000px width x 1250px height.- Click the “Upload cover picture” button.
- Select the desired image from your photo library.
- When done, click “Save and continue.”
Adding Advanced Options
This section is optional and can be modified later. However, you may choose to include:
- A personalized URL for your event page.
- Parking instructions.
- COVID protocols.
- When done, click “Save and continue.”
The Basics Are Done!
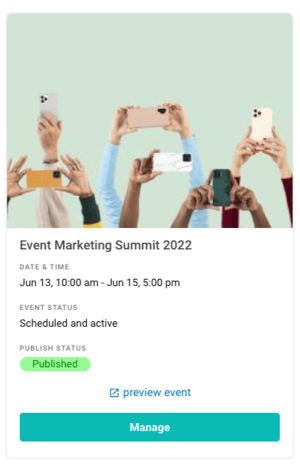
Your event will now be visible under “My Events” in your dashboard. To continue making your event extraordinary, click “manage” to add applications, create tickets, design maps, develop a schedule, etc.
...but for now, scroll down to see the next guide to help you get set up for success!


