How to Create Applications on Eventeny
Application Options
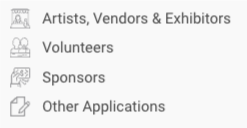
There are four different types of applications you can create on Eventeny:- Artist, vendor, and exhibitor applications.
- Volunteer applications.
- Sponsor applications.
- Other applications.
Locating You Event & Application Builders
- Log in to Eventeny with your email and password.
- Click “My Events” in the navigation bar to be directed to your event dashboard.
- Select “Manage” on the event you would like to assign team members to. If you have not created an event yet, check out the create your first event guide to get started.
- Once inside your event, you will see the 4 application options on the left-hand side of the screen.

The application process is very similar for each builder. In this guide, I will be walking you through how to set up an application for your artists, vendors, and exhibitors. You will be able to apply the same knowledge to the other application tools. However, if you need additional assistance, please feel free to reach out to your Community Engagement Specialist. 😊
Creating an Artist, Vendor, & Exhibitor Application
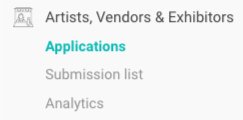
- Click “Artists, Vendors, & Exhibitors” on the left-hand side.
- Additional options will appear in the navigation. Select “Applications.”
- On the right-hand side, you will have two options: “+ New Application” OR “Create From Template.” We recommend selecting “Create From Template” when creating your first application on Eventeny.
- Select the type of application you’d like to create from the drop-down menu. If you do not see the application you would like to create, then proceed with the “+ New Application” option above.

Customizing Your Application
- Supply general application information (title, category, deadline, description, terms & conditions, visibility, payout method, editing permissions, image upload requirements, primary contact, and map connectivity).
- Create custom questions.
- Add in your pricing.
- Edit your application messaging.
Reviewing Submissions & Making Decisions
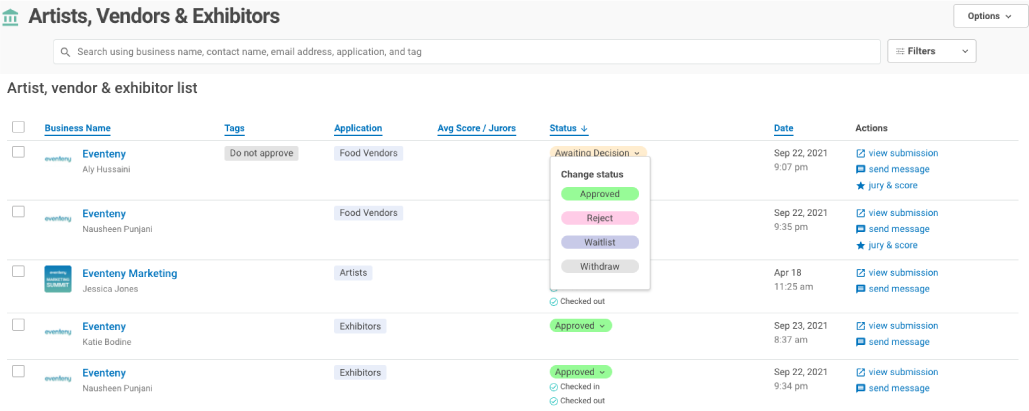
Under “Artists, Vendors, & Exhibitors” on the left-hand side, click “Submission list.”
Your submissions dashboard will populate for you to review and make decisions on all applications received for your event. To make your review process easier, utilize the search and filter options at the top of the screen.

